I saw an image of these when I Googled Mother's Day ideas but could not find a tutorial in English so I do hope that this mini tutorial helps you create a personalised and unique gift for the special people in your life this Mother's Day. (I do not take credit for the genius idea)
This creation is even simpler than I had first hoped and a great last minute gift idea because all of the materials are both cheap and easy to locate. This project took roughly 45mins from start to finish but that will depend on how long your little ones want to take when drawing there masterpieces.
You Need :
- Tissue paper (we chose a butterfly pattern but white works really well too)
- White or light coloured pillar candle (available at Wilkinson from £1.00)
- Greaseproof Paper
- Pens or pencils (we used basic felt tip pens)
- Heat gun or hair dryer
Firstly measure the tissue paper around the candle and cut out a rectangle which will fit comfortably on the front. Then write a message or draw a picture straight onto the tissue paper. It does not matter which side of the tissue paper you use, we tried both and they do not look any different once finished.
You then need to cut your greaseproof paper into a sheet big enough to wrap around your candle and comfortably hold. You do need to hold your greaseproof paper tight to avoid air bubbles and messy wax. You Place your tissue paper directly on your candle in the direction you want it to face, then put the greaseproof paper on the top (shiny side against your candle) and pull tightly.
Start to heat up your image, make sure you keep a firm hold of your greaseproof paper throughout. You then apply the heat with either a heat gun or a hair dryer, with a heat gun this takes literally seconds, with a hairdryer it would take a little longer but not more than a minute or two. As it heats you can begin to see the image through the greaseproof paper more brightly than before, it is hard to see in a photograph but quite obvious when you are watching it change colour at home.
Once you can see all of the colour through the paper you have covered the whole image. Gently remove the greaseproof paper (you should have no resistance at all) and your candle is complete!
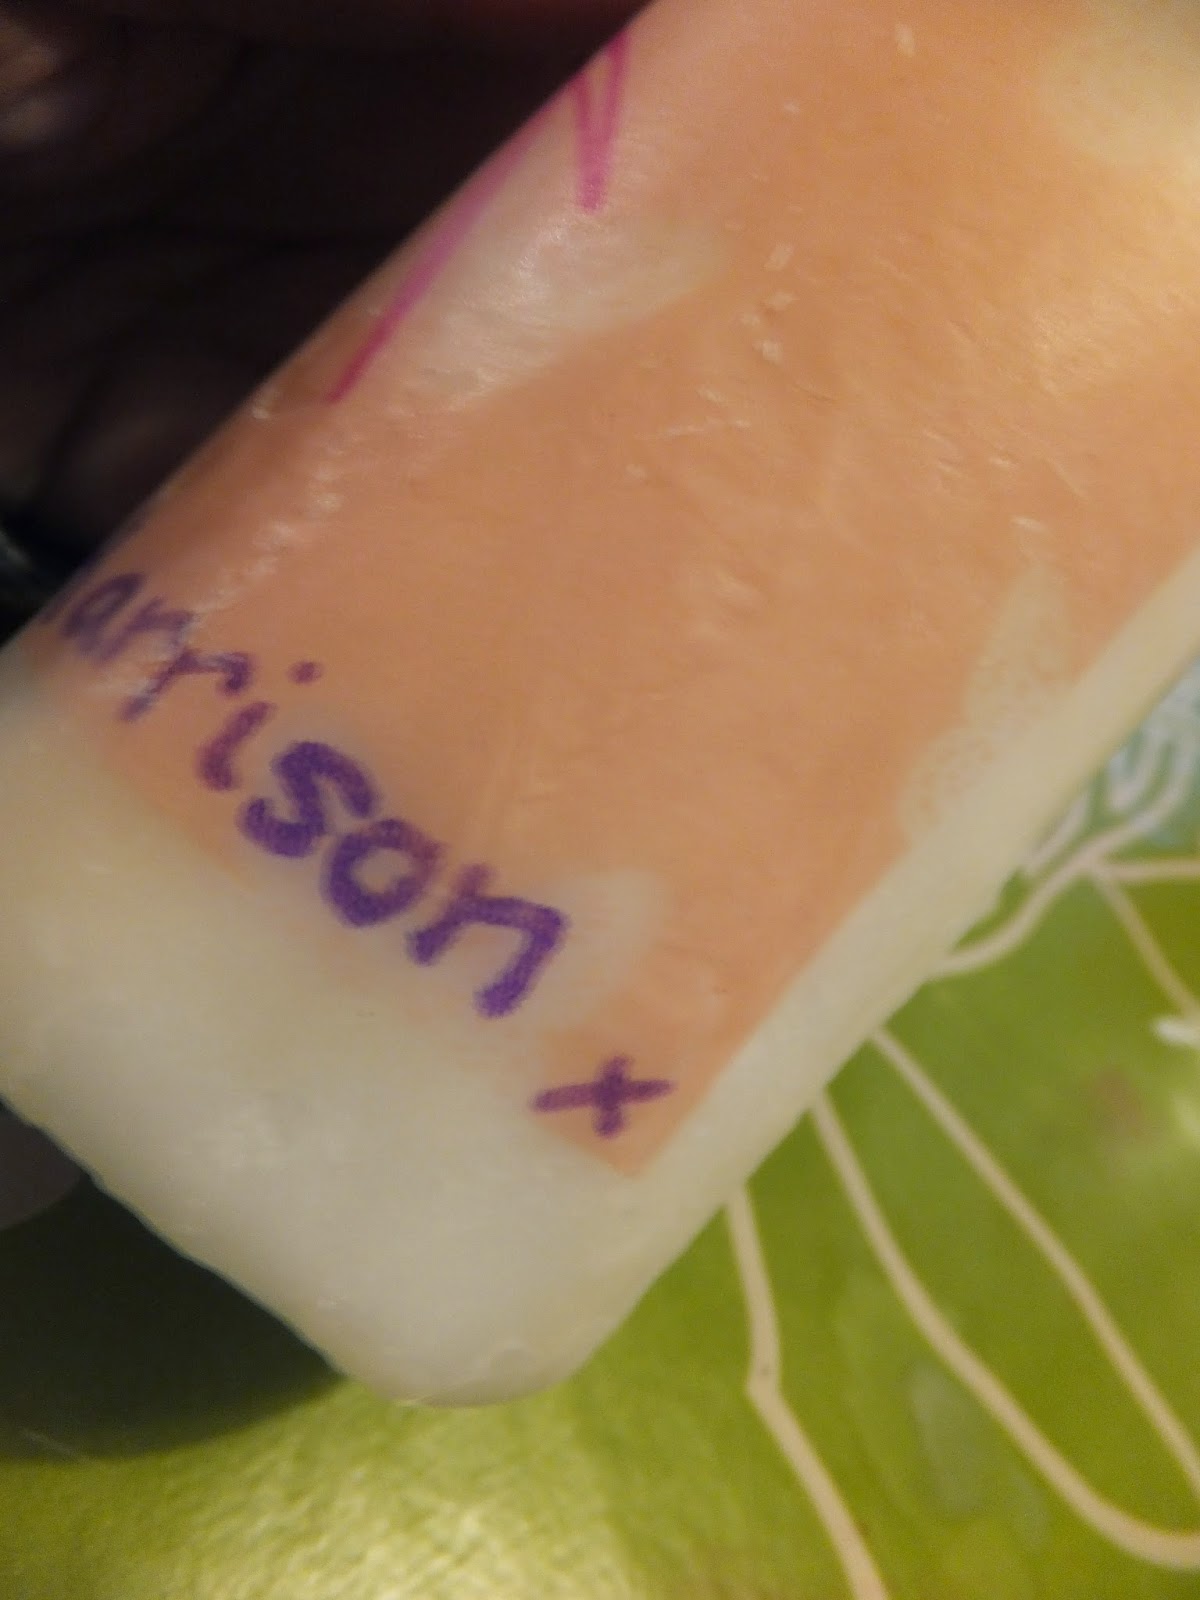
The photograph below shows how uneven the texture is if you do not pull the greaseproof paper tight enough, this is because I tried to use the greaseproof paper twice. The paper had scrunched and did not lie flat on the candle so the wax bubbled.
We made two each for the Webblings Nanna and Grandma. Quick and simple. The candles are smooth and you cannot feel where the tissue paper meets the candle at all, it feels printed on. The whole place smells like vanilla now too which is an added bonus.
We decided that they needed wrapping, we used bags that are intended for cupcakes or sweeties but make a very pretty candle holder. They are often available from Poundland in the party section.
Two in each and the gifts are finished. I can't believe how simple this idea is and that we have never tried it before. In total they have cost me around £6.00 for the four candles so great for our tight budget too.
If you decide to try them please do let me know, I would love to see them!
Samantha Webb x