Cornlings -Children's Picture Book is now available to support via Crowdfunder.
I have recently finished needle felting all of the illustrations for my Cornling story. They are beautifully finished with hand embroidered details and beading.
I now just need the support to get my book printed and I am offering lots of lovely rewards for my supporters too. Please take a minute to look and hopefully I can convince you that you need a Cornling in your life.
Love Samantha xxx

One Of A Kind creations by Samantha Webb xxx
Friday, 20 November 2015
Sunday, 11 October 2015
How To Make Polymer Clay Moulds From Zubber
I make a lot of my creations from polymer clay and as well as extremely rewarding it is also very time consuming which increases the price range of my handcrafted items.
When asked to have a craft stall at the local school I knew that my price points would be too high however I really did want to contribute so I decided to make some moulds that I could use to make some quick and simple cabochons.
Rather than use expensive mould makers I decided to use a much cheaper and accessible material, Zubber. It is sold at most toy stores and the pack shown below was from Toys'R'Us and it is currently under £2.00.

It is intended for children and is incredibly easy to use as you will see in the next few photographs. You get two tubs of coloured Zubber and a white tub of the activator, two measuring scoops and a plastic plate that you can make rubber charms with (not pictured because it is not used in this tutorial). I also selected some shaped buttons from my daughters button box which I am going to use to make the moulds. They can be plastic, wood, metal, anything you can think of really that you like the shape of.
 To activate the Zubber you need to use an equal amount of colour and white, measure them using the spoons provided. Only mix a little at a time because once they are mixed you don't have much time to work with them before they start to set.
 Simply mix them together as quickly as possible until you have a ball of one solid colour (this is the same process no matter what colour you use), they will not set properly if they are not completely mixed in. It is pretty easy to mix because it is really soft and has an oily texture before it sets.
 Press your button into the Zubber so that it goes a little higher than the edge of the button. Be sure to make sure that you CAN'T feel the button through the bottom of the Zubber because if your mould is too thin it will split at the bottom when you try to remove your clay.
 I used the tray inside the box to hold the Zubber whilst it set. This picture shows how many moulds I made from one whole pack of Zubber. The instructions say that they should be set in ten minutes however I wanted to be sure to have as much detail as possible so I left mine to set overnight.
 Then I simply popped the buttons out, gave them a wipe and put them away. The moulds are now ready to use with polymer clay.
 Fill the mould with polymer clay and be sure to push it in as firm as possible. I find that you get the best results if you squeeze the sides of the moulds too.
 Cut off the excess clay with a sharp blade and then gently pop out the clay from the mould and bake as per the instructions.
 I added eyes and noses where appropriate with tiny pieces of clay. The photo above shows some of the clay that has been baked. You now have usable cabochons that can be quickly and easily replicated over and over again to make inexpensive but handcrafted Jewellery or art.
 And I decorated the cabochons with clay canes, 3d paint, sparkles and glitter, anything I could get my hands on really. I added them to rings and hair clips all ready for the fair and at half the price of my none moulded creations.
I hope that this tutorial helps and possibly inspires, Love Sam xxx
When asked to have a craft stall at the local school I knew that my price points would be too high however I really did want to contribute so I decided to make some moulds that I could use to make some quick and simple cabochons.
Rather than use expensive mould makers I decided to use a much cheaper and accessible material, Zubber. It is sold at most toy stores and the pack shown below was from Toys'R'Us and it is currently under £2.00.

It is intended for children and is incredibly easy to use as you will see in the next few photographs. You get two tubs of coloured Zubber and a white tub of the activator, two measuring scoops and a plastic plate that you can make rubber charms with (not pictured because it is not used in this tutorial). I also selected some shaped buttons from my daughters button box which I am going to use to make the moulds. They can be plastic, wood, metal, anything you can think of really that you like the shape of.


I hope that this tutorial helps and possibly inspires, Love Sam xxx
Monday, 7 September 2015
I Am A Self Confessed Bookworm

I have never stopped reading although my tastes sometimes change. I always have at least one book on my bedside table along with my kindle, I am rarely without a story and love a good series. I read classics and modern, they both have a lot to tell us. I love to read stories that inspired movies that I have enjoyed too.
I can talk and talk about the stories I read, they become a part of your consciousness. I have decided to type my thoughts out about some of the books that I have read and hope that they may lead you to some new adventures between their pages. I will try my best not to give away any spoilers and will give you my honest and open opinion, no facts at all simply my opinion. I hope that you will enjoy this literary journey with me. If you have any book recommendations that you think I ought to read then please do comment I would love to hear from you. If you have any questions please ask. xxx
 |
| Matilda Rose is a bookworm that I made by wet felting and needlefelting. |
Tuesday, 11 August 2015
Batik First Attempt With Inktense Blocks
My lovely Mother-in-law gave me a Tjanting set for my birthday, she was unaware that you needed extra dyes, but no fear I decided to try "Fake Batik" (I'm not sure if that is actually a thing but I did not use the traditional methods to dye the fabrics)
I decided to try decorating some plain white t-shirts that I had bought for my son to wear this summer and he had refused to wear because they were boring!


When ironing onto the newspaper you can tell if you have ironed that whole image because you can see the wax outline come through the print. I used around 3 sheets of newspaper for each t-shirt to be sure all of the wax came off of the fabric.

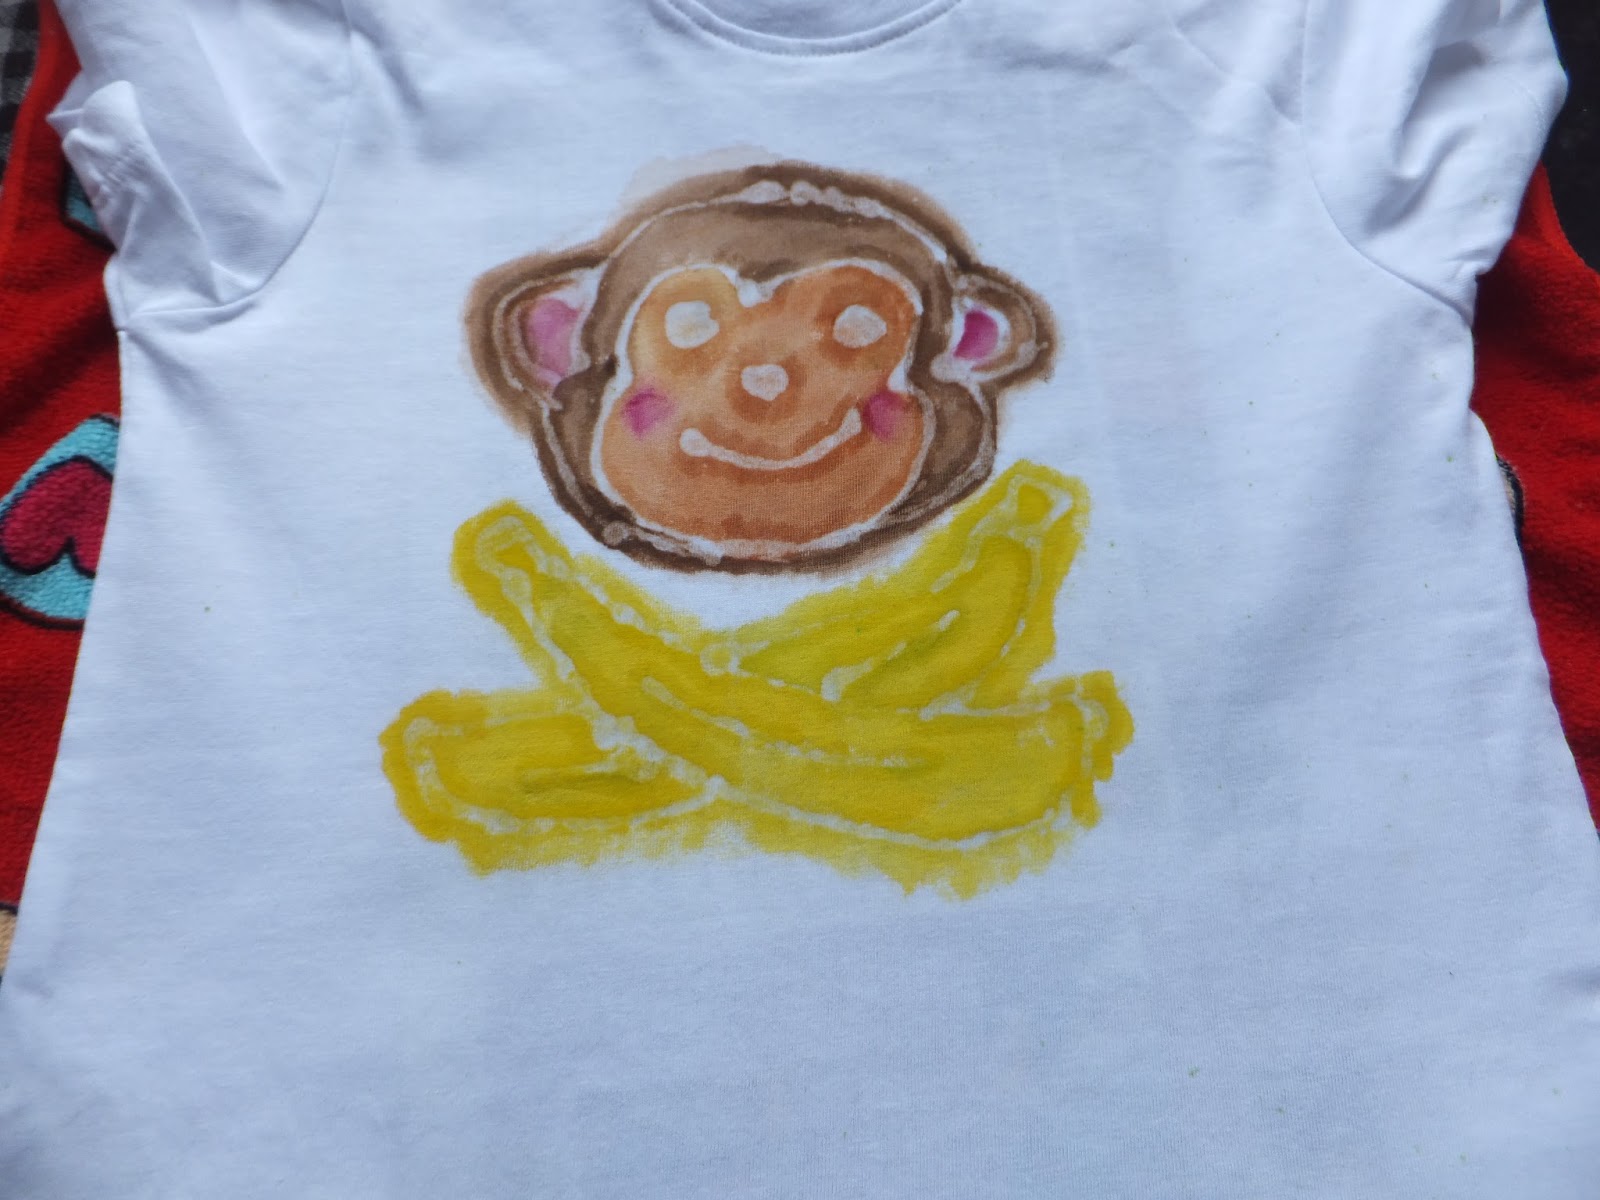


They wasted no time in playing roaring dinosaur and cheeky monkey! They do make me laugh and have given me requests for their next t-shirts already. If you decide to try this technique I would love you to share it in the comments section so that I can see it. Good Luck xxx
Wednesday, 5 August 2015
Cornlings movie
This little movie was made with the help of my beautiful 7 year old daughter, it shows all of the Cornlings that I have needlefelted so far and tells the story of their origin. I have more Cornlings coming in the very near future but I really hope that you like the ones that I have made so far xxx
Sunday, 2 August 2015
Moby and Puddle Twirly Skirts
I love to sew and recently my little girl asked me if she could have a skirt that would twirl like a princess. I wasn't completely sure that I could do it so I used an old sheet to practice on. Needless to say it is not perfect but she loved it so much that I have painted her favourite Disney Characters all over it so that it is not so plain.
I tried again with some more desirable fabric but I was having trouble with button holes, I really need to practice button holes. It came out a little small, but no trouble because my Goddaughter loves it.
I decided that it might be better to make one with an elastic waist and it worked so well that I have made all my other skirts in that style too. They look very rock 'n'roll with a matching headband.
I made three for myself to wear to 3 wishes Faeryfest in June thinking that they would be great fairy cosplay (which they are with an underskirt underneath) but have since worn them so many times, they have become my favourites this summer and I am always on the lookout for new fabrics for both me and my little one.
I have sold a few now too and you can order via my facebook page Moby and Puddle.
I do hope that you enjoy watching my little movie and look out for plenty more to come xxx
Wednesday, 15 July 2015
Cornlings

Meet
The Cornlings,
These adorable little creatures are created from your
very own dreams. As you sleep, tiny fragments of dreams slip from your
pillow and gather under your bed. When just the right amount of dreams
are collected into a little ball, it bounces about and a Cornling is
born. So next time you hear something under your bed, don't be afraid,
it may just be a Cornling playing amonst your toys and odd socks.
Finding a Cornling is very special indeed, if you take very good care of
them they may make your dreams come true!

Caring for your Cornling
1. Never EVER feed your Cornling Broccoli, they hate the stuff!!!
2. Cornlings like to be sang to preferably show tunes but they have been known to enjoy the odd rap song and a bit of country too.
3. Cornlings need room to bounce, it's how they get around so don't shove all your toys under your bed when you are asked to tidy your room.
4.Cornlings like people, give them plenty of affection but do not brush their hair, it WILL turn grey.
5. DO NOT BATH YOUR CORNLING, they cannot swim! They do not enjoy water of any kind and they do not care if you think they stink!
6. Cornlings get frightened by other pets, please keep them safely away from teeth and slobber.
7. To make a wish upon your Cornling, simply hold it between your hands and whisper.

Win a Cornling
I have a giveaway on my facebook page but it ends soon so be quick ...

https://www.facebook.com/mobyandpuddle

I HOPE YOU MEET A CORNLING SOON!
They are 100%wool needlefelted with glass bead eyes.
Each one comes with the story and care instructions.
They are a decorative item not intended for children because they have not been safety tested.
To order please email
mobyandpuddle@hotmail.co.uk
£4.50 each plus postage
Love Moby and Puddle
Wednesday, 3 June 2015
Easy Lace Crown Tutorial

My daughters school decided to go all out for St Georges Day this year and Lilly Webbling wanted a lace crown (which wouldn't fit over her braided hair on the day but she still loves it and has worn it lots)
This is a very simple crown that only uses three materials, fabric stiffener ( I used Paverpol), super glue and any lace that you like the look of, you can use scraps but make sure that the length will fit around your head. You will also need a plastic container big enough to wrap the lace around, (I used a beach bucket) and a paint brush.
 |
| We used grey lace to compliment her Merida outfit. |
Firstly add a thin layer of the fabric stiffener to the outside of the bucket and lay the lace directly ontop of the stiffener. This will help it to stay in place, overlap the ends by around 1cm.
 |
| Buckets are great because they ger bigger as they go up so you can make them bigger or smaller and could make more than one at a time on one bucket. |
Next brush on the fabric stiffener, be generous with your application as the more you use the harder your crown will be.
 |
| Add more layers to make it harder. |
As it dries the fabric will get darker. Once it is completely dry (Mine took around two hours in the sunshine) you can add another layer if you would like to make it even stiffer.
Then gently peel it away from bucket, it should retain its curved shape. It may leave some residue on the bucket which should peel off easily because the fabric stiffener does not stick to plastic.
 |
| It should peel away without any resistance. |
Join the two ends with super glue. You can try and match the pattern if you would like to but we were having too much fun to think of that!
 |
| Any basic brand of superglue will do the job. |
You may find that the edges are a bit uneven and there is fabric stiffener around the crown, that can easily be trimmed with a pair of household scissors. to neaten it up.
 |
| Rough edges can be trimmed. |
 |
| My Lilly Webbling loves her lacey crown. |
The crown is great for children because it is not completely stiff so can handle being played with and still be put back in shape. It took no longer than 20 minutes without drying time and Lilly enjoyed helping. If I were to make it again I would do it slightly bigger to accomodate her plait but the rest of the process was incredibly simple.
I hope that this tutorial helps and if you do decide to create one I would love to see it xxx
Friday, 13 March 2015
Raffy Munny Doll (sort of review)
 |
| Lovely bright boxes, bigger than we expected too. |
Lilly Webbling (aged 6) and I decided to have a girly night, we listened to a bit of Zac Brown Band and decorated our Raffys.
They come in a lovely colourful box and the giraffe is very strong and durable. It will handle a lot of playtime. Inside the box you get your Raffy, which were much larger than I had expected and great for little hands to decorate. You also get a sticker with an outline so that you can design your Raffy before you put anything on the actual vinyl. A Hello My Name Is card with a holographic sticker showing its authenticity AND .... a blind bag with one mystery accessory.
 |
| The other contents of the box. |
Lilly and I both got the same accessory, I am not sure if this is just the standard one for all Raffys or if we were just unlucky/lucky, we do love the ties that we got.
We decided to use our ties as testers ...
 |
| We got ties in our blind bags, great for practicing. |
I used Inktense Blocks by Derwent for mine and Lilly used Sharpie markers because they were easier for her to handle.
Both mediums were easy to apply, I used a paintbrush and water for the Inktense.
The Sharpie pens stay a little tacky for a while after drawing your design so you can get a few finger prints in unwanted areas but it does go on in very vibrant colours. The Inktense was much softer almost like watercolours and did smudge a little even after around an hour of drying. However the next morning neither was tacky or smudging.
 |
| Has anyone seen my body? |
You can take the heads off to make it a little easier to decorate them separately, I found this particularly helpful when I was trying to paint the face onto the Raffy, it was just easier to get it at the angle I needed. This is also the only way to get the tie on :).
 |
| Do you think our ties look smart? |
Lilly designed her Raffy completely independently and I absolutely love her eyelashes! We did find with both the Sharpie and the Inktense that once the colour is on there, you cannot remove it completely! So be sure that you really do want that colour before you apply.
 |
| We have pretty backsides too. |
We decorated all over our Raffys, just playing and having fun. I love how free Lilly was with her colours, children are not inhibited and it really shows in her Raffy how much she loves bold bright colour and just how much fun she had.
 |
| Rosie is cheeky. |
This is a close up of Lilly's Raffy, she is now named Rosie.
 |
| Chhestring is shy. |
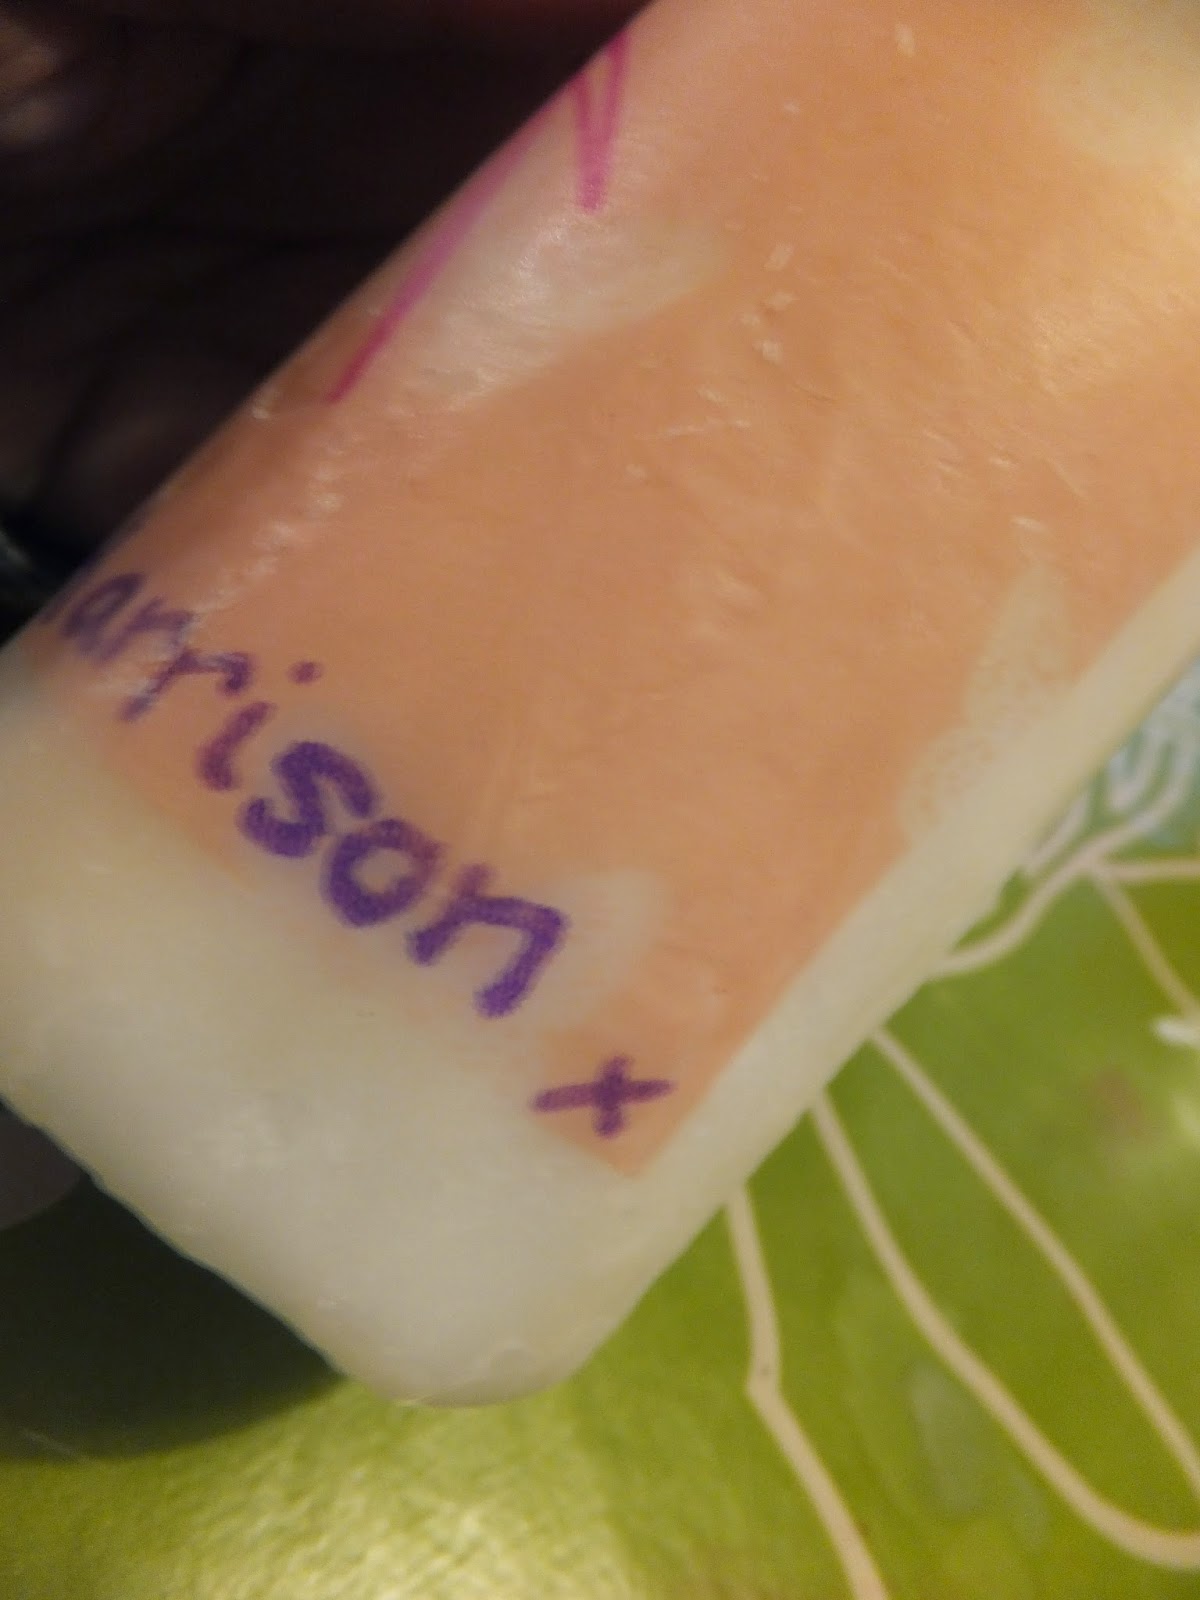
And this is my Raffy who has been named Cheesestring (thanks to the suggestion of Harrison aged 3)
In my opinion for the money, these are fantastic creative toys. You don't need expensive materials to decorate them, you could use acrylic paints or any marker pens.They took us around two hours from start to finish then around twelve hours drying time just to be sure the inks had set. It was such a fun canvas to work on and I believe it would be quite difficult to end up with a Raffy that wasn't adorable.
They have been handled and played with by both of the Webblings who adore them. I would like to try one with a unicorn horn one day and perhaps one with wings but the possibilities are endless. I can see them being played with for a long time to come. xxx
Friday, 27 February 2015
Quick and Easy Mother's Day Candle Tutorial

I saw an image of these when I Googled Mother's Day ideas but could not find a tutorial in English so I do hope that this mini tutorial helps you create a personalised and unique gift for the special people in your life this Mother's Day. (I do not take credit for the genius idea)
This creation is even simpler than I had first hoped and a great last minute gift idea because all of the materials are both cheap and easy to locate. This project took roughly 45mins from start to finish but that will depend on how long your little ones want to take when drawing there masterpieces.
You Need :
- Tissue paper (we chose a butterfly pattern but white works really well too)
- White or light coloured pillar candle (available at Wilkinson from £1.00)
- Greaseproof Paper
- Pens or pencils (we used basic felt tip pens)
- Heat gun or hair dryer
Firstly measure the tissue paper around the candle and cut out a rectangle which will fit comfortably on the front. Then write a message or draw a picture straight onto the tissue paper. It does not matter which side of the tissue paper you use, we tried both and they do not look any different once finished.

You then need to cut your greaseproof paper into a sheet big enough to wrap around your candle and comfortably hold. You do need to hold your greaseproof paper tight to avoid air bubbles and messy wax. You Place your tissue paper directly on your candle in the direction you want it to face, then put the greaseproof paper on the top (shiny side against your candle) and pull tightly.

Start to heat up your image, make sure you keep a firm hold of your greaseproof paper throughout. You then apply the heat with either a heat gun or a hair dryer, with a heat gun this takes literally seconds, with a hairdryer it would take a little longer but not more than a minute or two. As it heats you can begin to see the image through the greaseproof paper more brightly than before, it is hard to see in a photograph but quite obvious when you are watching it change colour at home.

Once you can see all of the colour through the paper you have covered the whole image. Gently remove the greaseproof paper (you should have no resistance at all) and your candle is complete!
The photograph below shows how uneven the texture is if you do not pull the greaseproof paper tight enough, this is because I tried to use the greaseproof paper twice. The paper had scrunched and did not lie flat on the candle so the wax bubbled.
We made two each for the Webblings Nanna and Grandma. Quick and simple. The candles are smooth and you cannot feel where the tissue paper meets the candle at all, it feels printed on. The whole place smells like vanilla now too which is an added bonus.


We decided that they needed wrapping, we used bags that are intended for cupcakes or sweeties but make a very pretty candle holder. They are often available from Poundland in the party section.

Two in each and the gifts are finished. I can't believe how simple this idea is and that we have never tried it before. In total they have cost me around £6.00 for the four candles so great for our tight budget too.
If you decide to try them please do let me know, I would love to see them!
Samantha Webb x
Subscribe to:
Comments (Atom)